Email Configuration
Updated Jul 21, 2026
EmailEmail Configuration
Email profiles are the sending accounts DataMagik uses when a script or automation sends mail. Configure one or more profiles here — Postmark, SendGrid, or SMTP (including Microsoft 365 with OAuth) — and pick which one is the default. This is separate from Email Templates, which control what the messages look like.
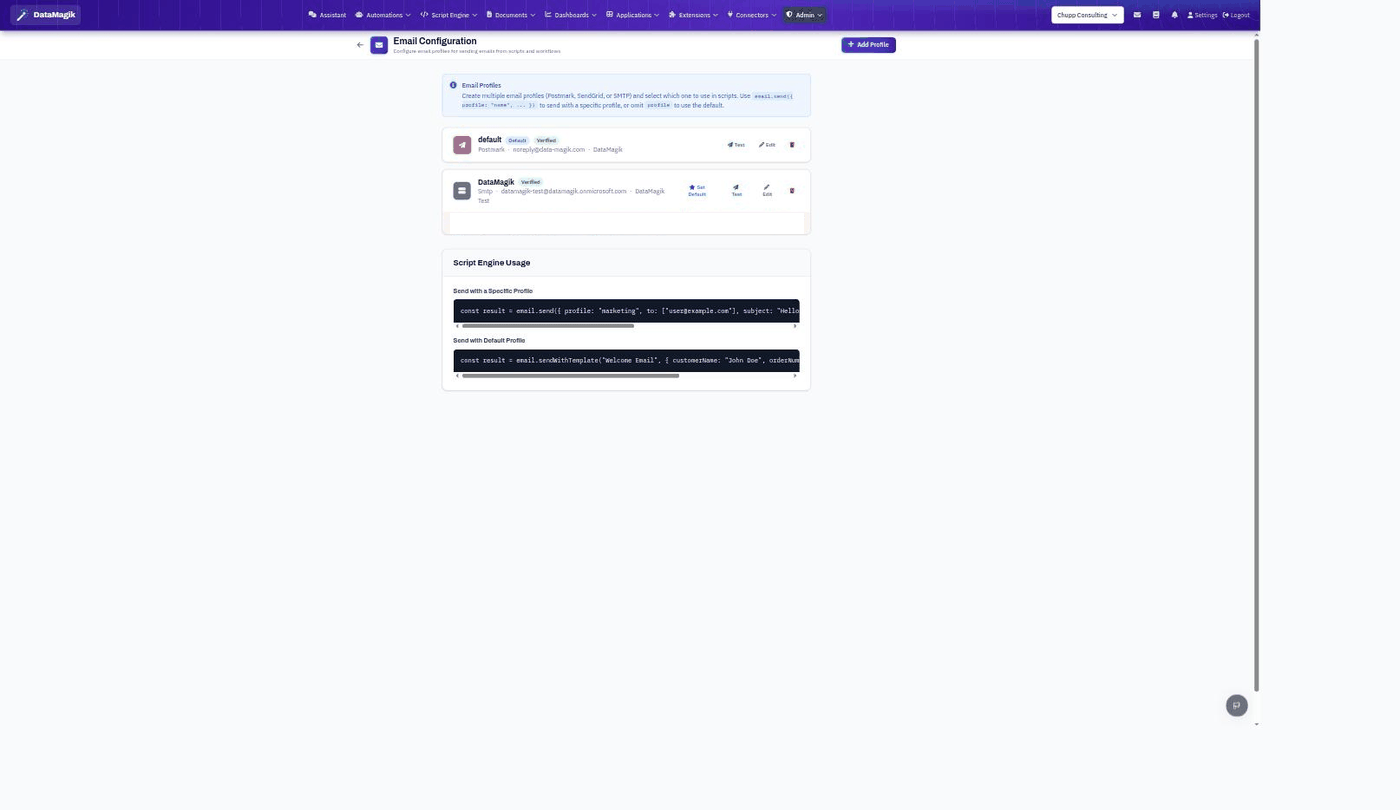
Adding a profile
- Click Add Profile.
- Choose the provider (Postmark, SendGrid, or SMTP) and enter its settings — API key or SMTP host, credentials, and the from-address. For Microsoft 365, SMTP uses OAuth2 (XOAUTH2); you authorize the mailbox once and DataMagik stores the grant.
- Save, then click Test to send a verification message and confirm the profile works. A working profile is marked Verified.
- Use Set Default to choose which profile is used when a message doesn't name one.
Using a profile from a script
Reference a profile by name, or omit it to use the default:
// Send with a specific profile
const result = email.send({ profile: "marketing", to: ["user@example.com"], subject: "Hello", ... });

// Send with the default profile, using a template
const result = email.sendWithTemplate("Welcome Email", { customerName: "John Doe", orderNumber: 123 });
If a profile shows a "Last error". A profile that
recently failed to send displays its last error (for example an expired OAuth grant or a rejected
mailbox). Re-run Test after fixing the credentials to clear it.
Related: Design the messages in
Email Templates; trigger sends from
the Script Engine or
automations. To receive mail and trigger scripts, see
Inbound Email.